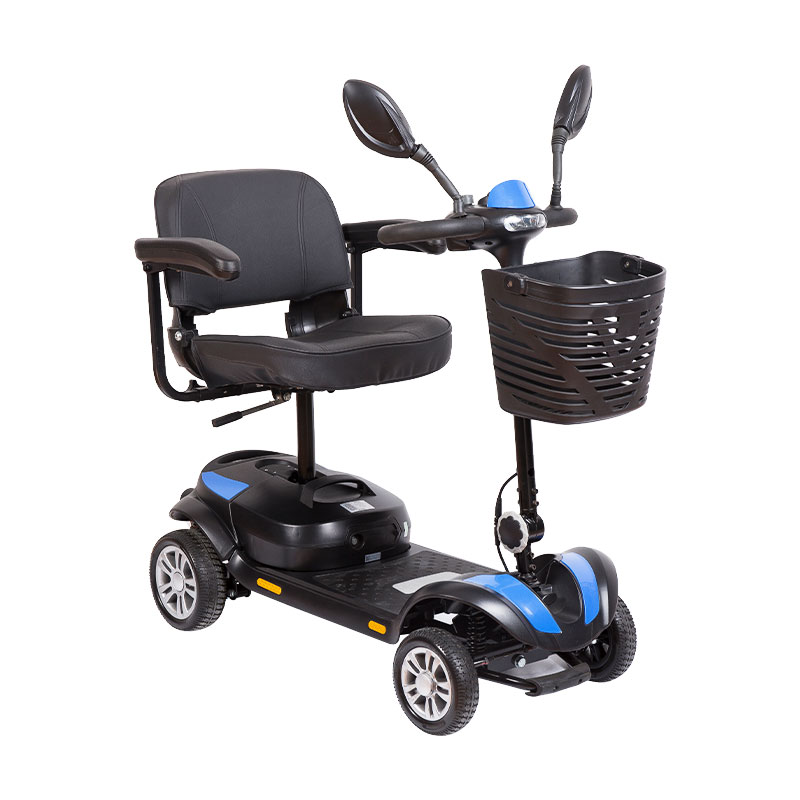
How to install the 4 Wheels Elderly Mobility Scooter's GPS antenna to ensure optimal reception of satellite signals?
Installing the GPS antenna on a 4 Wheels Elderly Mobility Scooter to ensure optimal reception of satellite signals is a crucial step in integrating GPS navigation. Here's a general guide on how to install the GPS antenna effectively:
Tools and Materials You May Need:
GPS antenna
Mounting bracket or housing (if necessary)
Screws or mounting hardware
Screwdriver or appropriate tools
Weatherproof sealant (silicone or similar)
Cable ties or clips (for cable management)
Installation Steps:
1. Select an Appropriate Location:
Choose a location on the scooter where the GPS antenna has a clear line of sight to the sky. The antenna should ideally be mounted in a position that minimizes obstructions, such as metal or dense materials, which can block GPS signals.
2. Mounting Bracket or Housing (if applicable):
Depending on the scooter's design, you may need to use a mounting bracket or housing to secure the GPS antenna. These brackets are often designed to position the antenna at the optimal angle and protect it from weather and potential damage.
3. Secure the Antenna:
Attach the GPS antenna to the selected location using screws or other appropriate mounting hardware. Ensure that it is firmly secured and stable. If you are using a housing, follow the manufacturer's instructions for installation.

4. Cable Routing:
Route the GPS antenna cable carefully along the scooter's frame to the point where it will connect to the GPS receiver or navigation system. Use cable ties or clips to secure the cable in place and prevent it from dangling or getting caught in moving parts.
5. Weatherproofing:
To protect the GPS antenna and its cable from moisture and environmental elements, apply weatherproof sealant (such as silicone) around the base of the antenna and any cable entry points into the scooter's body or housing. This ensures a watertight seal.
6. Connect the Cable:
Connect the GPS antenna cable to the designated port on the scooter's GPS receiver or navigation system. Ensure that the connection is secure to prevent signal interference or loss.
7. Testing:
Before finalizing the installation, perform a test to ensure that the GPS antenna is receiving signals accurately. This can be done by activating the scooter's GPS navigation system and checking for satellite reception.
8. Calibration (if necessary):
Depending on the GPS navigation system, you may need to calibrate it to account for the precise location of the antenna. Follow the manufacturer's instructions for calibration, if required.
9. Final Installation:
Once the GPS antenna is functioning correctly and receiving signals with optimal strength, secure any loose cables and complete the final installation of the housing or bracket, if used.
By following these steps and ensuring that the GPS antenna is properly installed, you can maximize the accuracy and reliability of the GPS navigation system on the 4 Wheels Elderly Mobility Scooter, enhancing the user's convenience and safety while navigating their surroundings.


 English
 Deutsch


-3.jpg?imageView2/2/format/jp2)
.jpg?imageView2/2/format/jp2)


